Thursday, February 3, 2011

Wing and fuel tank removal.


Before cutting the fabric the area the new fabric will be glued to during reassembly must be sanded down to bare fabric. Fun.

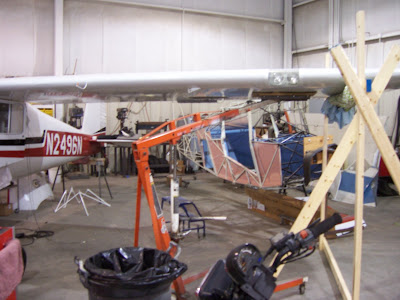
Now that the wing is removed the fun part begins. The fuel tank has been leaking and to gain access the fabric has to be cut off the top of the wing.


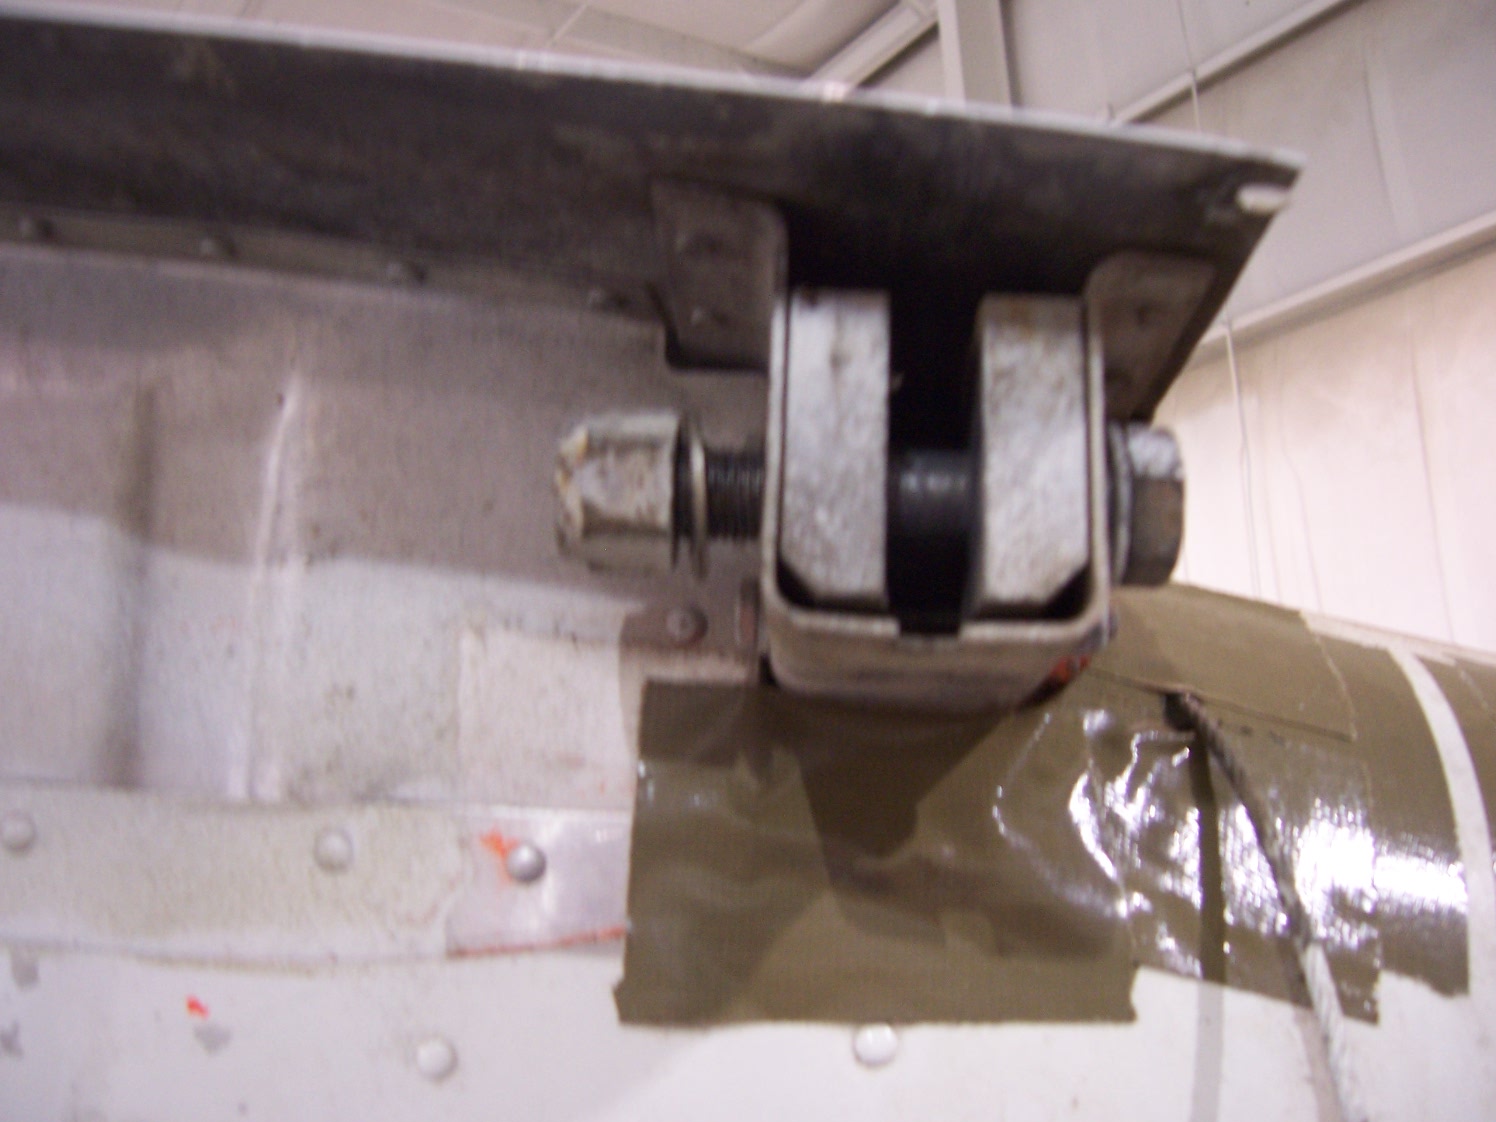
These two pictures show the blocks where the wing attaches to the wing root. I have seen pictures of other airplanes where this area was severely corroded. These are in very good shape with no signs of corrosion.


Firewall and engine mount.

The engine mount installed after a fresh coat of paint.
The firewall after some cleaning up.


The engine mount after some primer and paint.


While the mount was still bolted on it got cleaned up with emry clothe. Once it was removed the clusters, or weld points got glass bead blasted. You can see there is a repair done on the lower left corner from some time in the past.

Engine disassembly.


Well, an engine overhaul was really not in the plans, but here we go. I removed one cylinder due to leaking by the exhaust valve and decided to look around in th engine to see how things looked. These top two pictures show the reason for disassembly of the engine. The front-most lifter body face has severe spalding. The camshaft lobe for that lifter was also starting to wear down.


Breather fitting modification.


One of the items on my to do list was this breather fitting modification. This fitting screws into the crankcase and provides the crankcase vent. These engines have a reputation for leaving a small puddle under the breather on the ramp after shut down because the camshaft throws oil into this fitting. The extension is a recommendation from Continental to help solve this issue. The longer tube helps to displace the vent location out of the path of the oil being slung by the camshaft. The brass tube was turned down in the lathe and then silver soldered to the fitting.

Accessories


In the background of the picture of the starter gear you can see the carburetor is torn apart. Since I've had the airplane it has always required a lot of leaning to keep it from running rough. The carburetor got a new fuel discharge nozzle kit that will hopefully take care of this problem.

The generator brushes look good, but the drive bushings are showing some wear. You can see the difference between the old ones (kind of cocked off to one side) and the new ones.


The magnetos came apart for inspection. Everything looked good here.


Starter gear


The starter installed and rigged.
New gear installed in the starter and ready to assemble.
Picture of the new starter gear.

This is a picture of the new seals in the starter end plate. The boss on the left hole had to be machined to accept the new style of seal.


This is the starter gear. The big gear is run by the starter motor and the small gear (one that's all chewed up) engages with the crankshaft gear during engine starts. The gears end up looking like this when the starter is rigged incorrectly and begins to spin before it has full engagement with the crank gear. I had rigged rigged this system last winter, but evidentally the damage was already done at some point in the past.

Engine removal.


Some more, rather blurry, engine removal pics.